Journal / Cutting guide
June & Marcus: Cutting Leather, Designing Wallets
 June Park · June 18, 2025 · 6 min read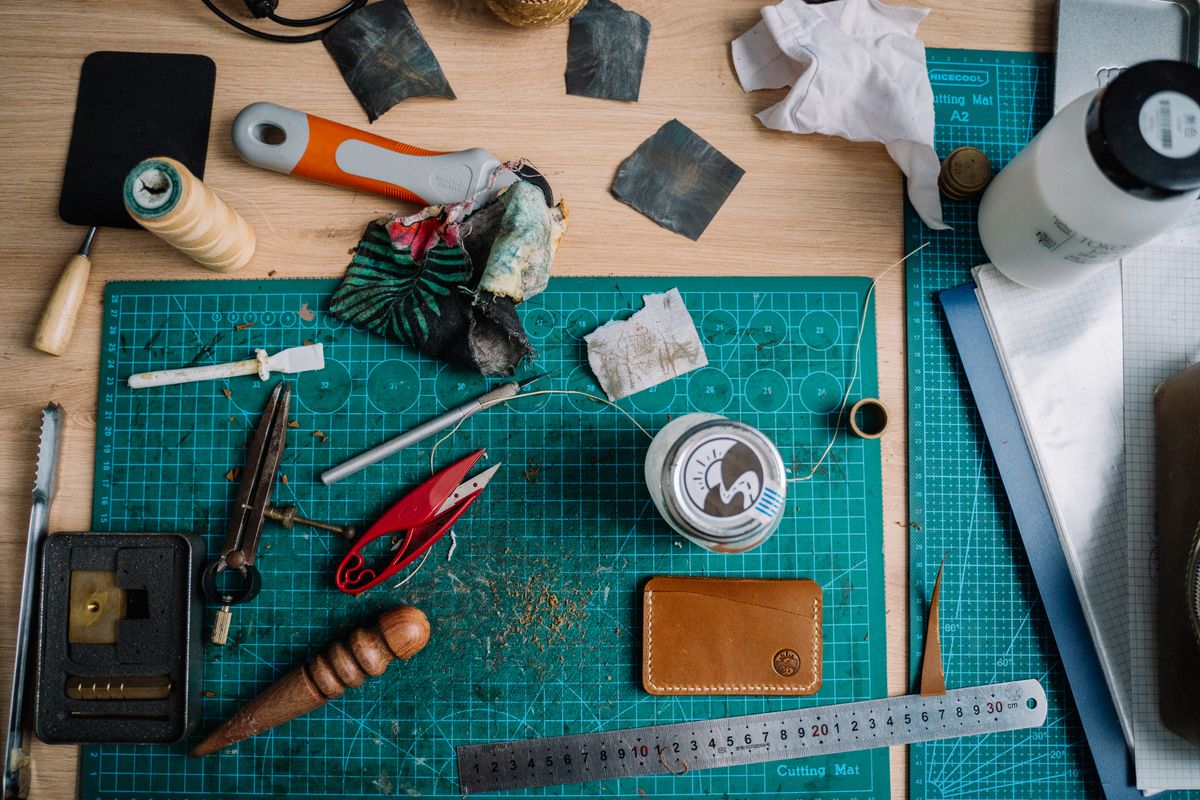
Ask a beginner what ruins a wallet and they will say the stitching. Ask Marcus and he will point six inches earlier: the cut. A panel cut even half a millimetre off-square will fight you through every step that follows — the glue skews, the stitch line wanders, and the edge never burnishes clean.
Start with the right blade
We keep three cutters on the bench, and each has exactly one job. The strap cutter rips long straight lengths for belts and bag straps. The round knife handles curves — card-slot arcs, wallet corners, tote flaps. And a humble heavy-duty utility blade, changed shamelessly often, does everything else. A fresh blade is cheaper than a ruined panel; change it the moment it drags.
Design from the cards out
Wallets fail when designers start with the outside dimensions. Start with the contents instead: a card is 85.6 × 54 mm, and a slot needs 4 mm of depth beyond that to hold tight without swallowing. Lay out real cards on your pattern paper, add 3 mm seam allowances, and only then draw the exterior. That is the pattern mistake every beginner makes — and the one our Saturday class fixes in the first hour.
The grain direction matters
- Cut wallet backs along the backbone line, where the fibres run tightest — they resist stretching in the back pocket.
- Cut straps from the bend, never the belly; belly leather grows a full size in a year of wear.
- Mark every piece with an awl scratch, not ink — ink bleeds into light-coloured edges.
Master these three habits and your panels will land square, your stitching will sit straight, and your edges will burnish like glass. Or skip the learning curve and take the Saturday wallet class — we will hand you a sharp knife and watch like hawks.